
Where Does Villa Rainwater Go? A Gutter and Site Drainage Checklist
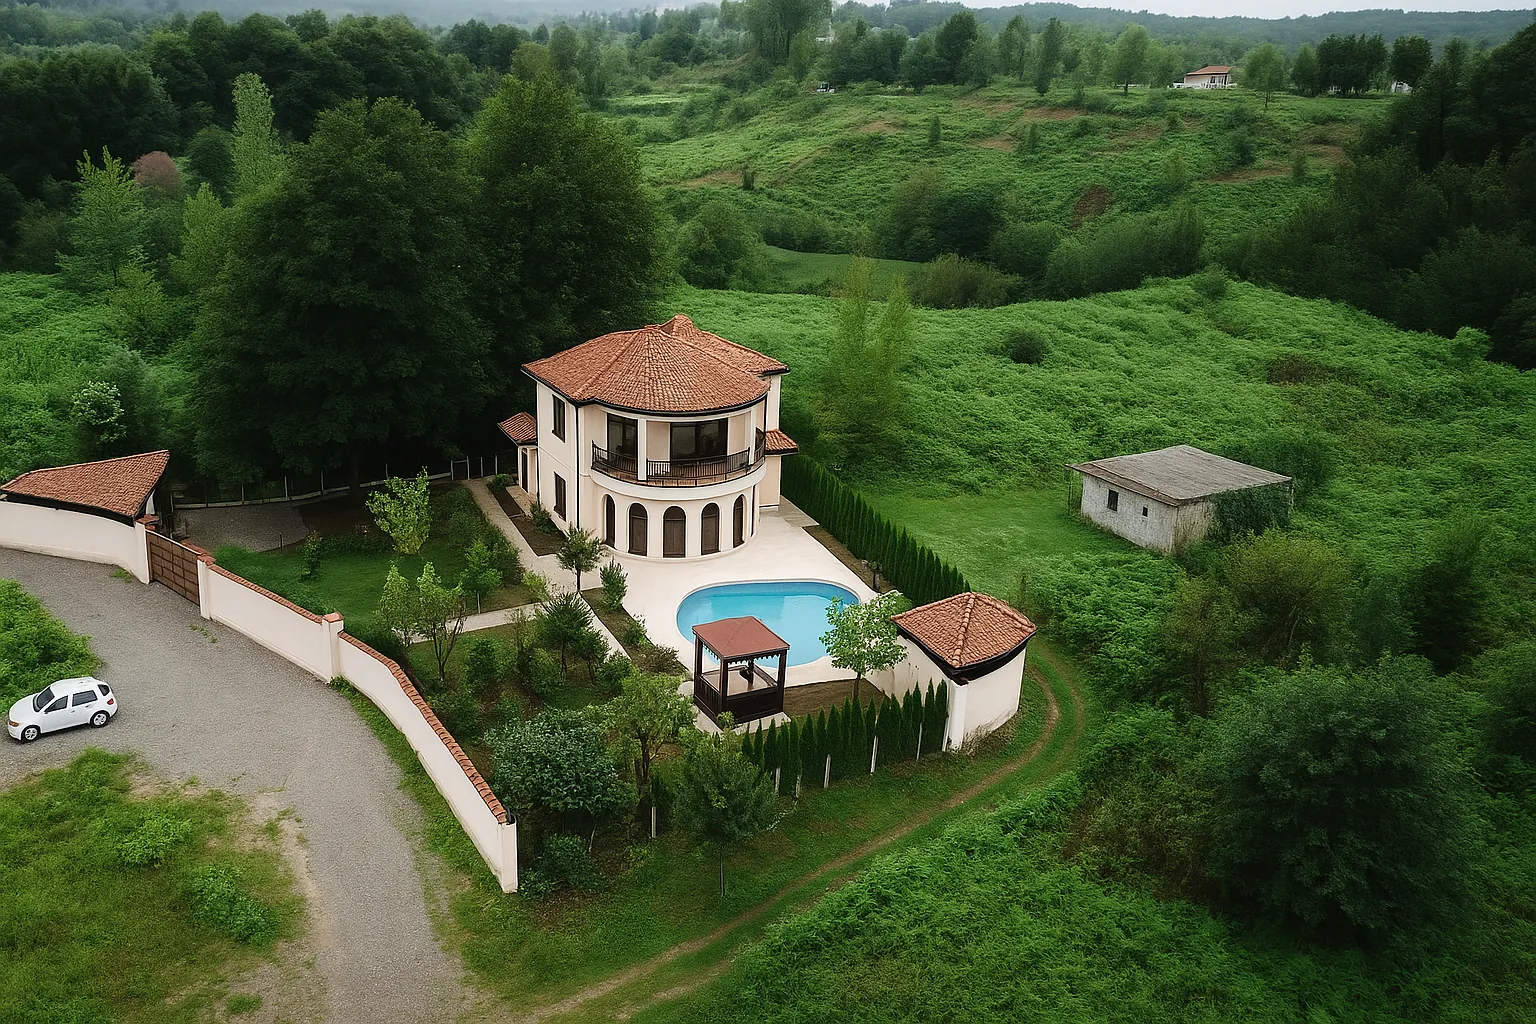
Villa rainwater drainage is a connected route, rather than a single gutter. Water must leave the roof, pass through a downpipe and reach a suitable outlet. A break in that route can produce a visible problem some distance from the cause. This checklist helps owners document accessible areas and request a focused inspection. Pipe sizing and final drainage design require assessment of the individual property.
Draw the complete route first
Mark gutters, downpipes, terrace outlets and accessible garden inspection points on a simple plan. Write down where each route ends. A pipe disappearing below ground does not establish that its outlet works. Ask the project team to identify the connection or permitted discharge location. Any proposed change must account for the property and local requirements, including effects on neighbouring land and public access.
Observe from a safe position
- During rain, record overflow at gutter edges and drips at joints from a safe ground-level location.
- After rain, photograph standing water at entrances, beside walls and around inspection covers.
- Add the time, approximate rainfall conditions and how long the water remained.
- Check accessible grates for leaves and debris. Use an equipped professional for roof edges and elevated access.
Separate the symptoms in your report
NC State Extension’s gutter guidance recommends regular inspection and further checks after major weather events. Record overflow, a leaking connection and an unsuitable discharge point as separate observations. Repainting a stain does not demonstrate that its source has been corrected. Comparing the same location during a later rainfall helps the owner and contractor assess the repair.
Give the contractor a useful brief
Include a location reference, an overview photograph, a close view, the observation date and any earlier repair history. For example, “water remains beside the west entrance grate after the rain stops” is more useful than “the garden floods”. Ask for a written explanation of the diagnosed cause, proposed repair boundary, access needs and verification method. Changes to ground levels or buried routes should be coordinated with the designer before work starts.
Keep a simple maintenance record
Retain one folder containing the route sketch, inspection dates and before-and-after photographs. Agree an inspection schedule that reflects nearby trees, occupancy and access arrangements. If the villa stands empty for long periods, name the person responsible for checking it. Confirm that they can reach the relevant inspection points and know whom to contact when a fault appears.
For a new project, drainage should be discussed while roof, landscape and service details can still be coordinated. Explore Construct Pro Milanik’s villa projects and services and prepare the location notes for that discussion. The aim is an identifiable, maintainable water route. Its capacity cannot be confirmed from photographs alone, and this checklist does not prescribe construction dimensions.
For facade changes near a drainage route, also review the villa window shading design checklist.